
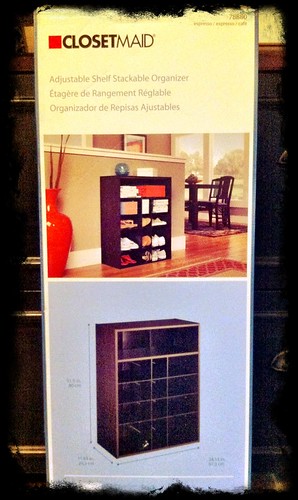
I gave it a little thought and the lights finally came on! I went to trusty ol' Target and picked up two of these..........
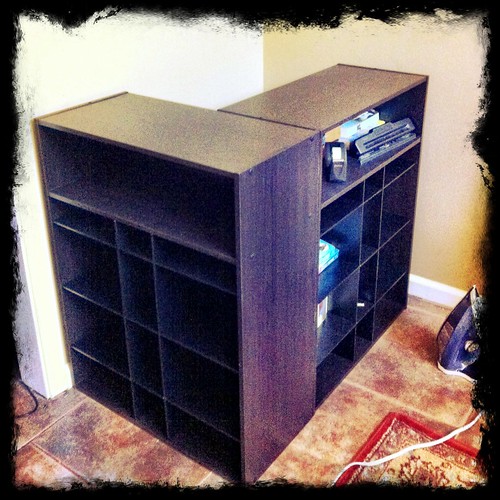
These were extremely easy to put together, but I must warn you, those lower shelves are NOT very sturdy. They will work fine for my purpose, but if you're looking for something stronger, keep looking. You can certainly use the same concept though. Okay, so I put two of them together and arranged them in the designated corner like this................
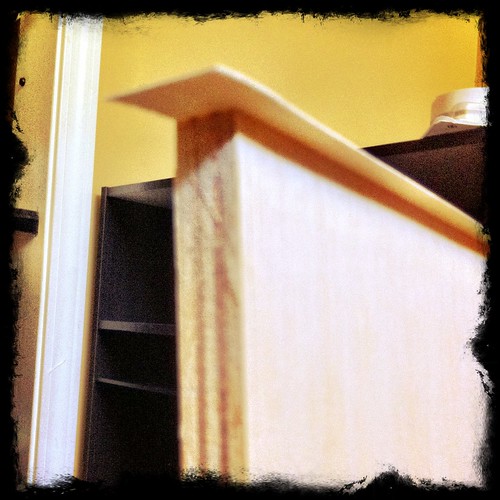
Next, I grabbed a nice thick piece of plywood from Home Depot. I'm sorry, I don't know proper wood terminology, but I'll work on it. This piece of wood is about a half inch thick, nice and smooth on both sides, and not at all wobbly. I knew it would be perfect for what I needed. I cut it to the dimensions of my new "shelf table" with about an inch extra. That extra bit gives you a half inch lip on all sides and helps in the event something isn't quite perfectly squared.
The next step is a little extra detail, but I think it was well worth it. I grabbed some Melamime edging tape for the sides of this piece of plywood. You actually iron in on to the sides of your wood for a nicely finished edge. It was easy and really made it look nice. I'll be sure to use this in the future for any exposed raw edges.
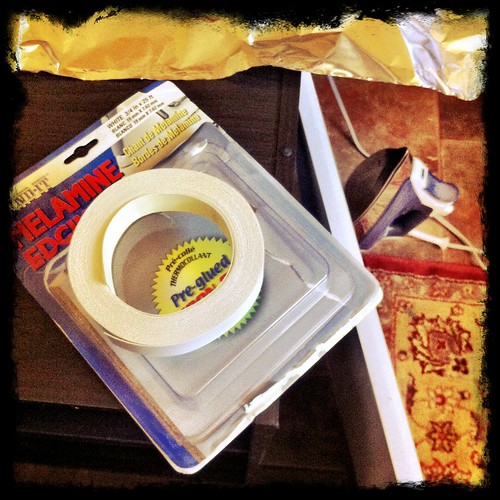
The directions suggest placing a bit of aluminum foil between the tape and your iron to protect your iron and then you just simply iron it on. Couldn't be easier! Then, you use a box cutter and trim it as needed.
Next, I gave it about three good coats of spray paint and allowed it to dry well overnight. I still haven't added the polycrilic, but I will! I've got another small project that will need it as well and I'm going to just do them at the same time. The final step was adding legs to support it in the back.
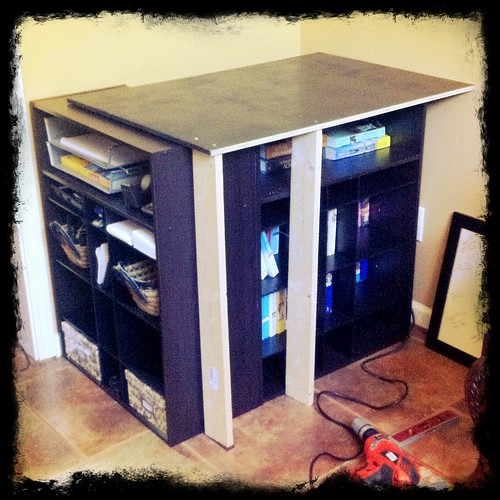
The legs aren't pretty, but nobody will see them. I did fix up that crooked one and filled the holes, so they aren't visible anymore. Now, you're ready to life it up and over and plop it down into place.
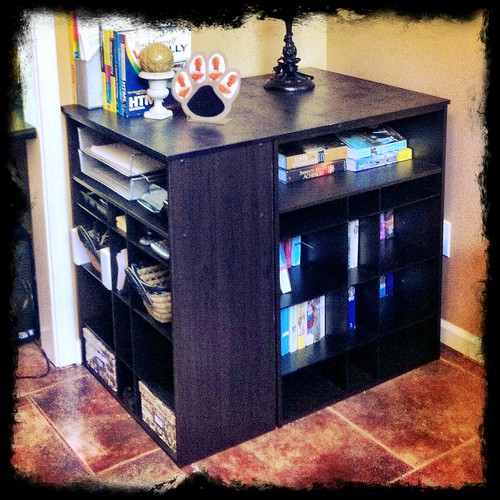
Now, it's done! My very own shelf table for only a fraction of the price! I'm very happy with the way it turned out, but I have to tell you...................I'm kinda thinking about trying out some chalk paint on it and going with a nice creamy white after all! I'll let you know if I do!
Stay tuned to my Office Project. Part 3 is coming soon!!

It looks great!
ReplyDeleteThanks! It was a fun little piece to do!
ReplyDelete