Showing posts with label decorating. Show all posts

Wednesday, November 9, 2011

Office Project - Part 2

     I know I said I'd update twice a week, and I am so sorry, but I'm only just getting back to writing about my current project.  I've done a little shopping and put together a plan.  The first thing on my to-do list was a book shelf.  I needed something to the side of my desk (hint - it's in a closet!) for some additional storage.  I really like those islands you see in craft rooms.  Like this..........

     I found this photo here........Paisley.  Actually, you will find some wonderful inspiration photos for craft rooms, so check her out!  This was along the lines of what I wanted, but without a desk portion.  I wanted it to be shelved on both sides, but I sure didn't want to spend a ton of money.  Where's the creativity in that?

     I gave it a little thought and the lights finally came on!  I went to trusty ol' Target and picked up two of these..........

Photo by TJoy71


     These were extremely easy to put together, but I must warn you, those lower shelves are NOT very sturdy.  They will work fine for my purpose, but if you're looking for something stronger, keep looking.  You can certainly use the same concept though.  Okay, so I put two of them together and arranged them in the designated corner like this................


Photo by TJoy71


     Next, I grabbed a nice thick piece of plywood from Home Depot.  I'm sorry, I don't know proper wood terminology, but I'll work on it.  This piece of wood is about a half inch thick, nice and smooth on both sides, and not at all wobbly.  I knew it would be perfect for what I needed.  I cut it to the dimensions of my new "shelf table" with about an inch extra.  That extra bit gives you a half inch lip on all sides and helps in the event something isn't quite perfectly squared. 

     The next step is a little extra detail, but I think it was well worth it.  I grabbed some Melamime edging tape for the sides of this piece of plywood.  You actually iron in on to the sides of your wood for a nicely finished edge.  It was easy and really made it look nice.  I'll be sure to use this in the future for any exposed raw edges. 


Photo by TJoy71


     The directions suggest placing a bit of aluminum foil between the tape and your iron to protect your iron and then you just simply iron it on.  Couldn't be easier!  Then, you use a box cutter and trim it as needed.


Photo by TJoy71


     Next, I gave it about three good coats of spray paint and allowed it to dry well overnight.  I still haven't added the polycrilic, but I will!  I've got another small project that will need it as well and I'm going to just do them at the same time.  The final step was adding legs to support it in the back.


Photo by TJoy71


     The legs aren't pretty, but nobody will see them. I did fix up that crooked one and filled the holes, so they aren't visible anymore.  Now, you're ready to life it up and over and plop it down into place.


Photo by TJoy71

     Now, it's done!  My very own shelf table for only a fraction of the price!  I'm very happy with the way it turned out, but I have to tell you...................I'm kinda thinking about trying out some chalk paint on it and going with a nice creamy white after all!  I'll let you know if I do!

     Stay tuned to my Office Project.  Part 3 is coming soon!!


Saturday, October 29, 2011

Office Project - Post One!


Photo by TJoy71

     The above picture shows the puchases I made yesterday.  The black buffet in the back is already ours, but will probably be moved out.  The table, wire basket, green box, and purple white board thing are from Goodwill.  I had to get a couple things from Home Depot, like the paint, but I bought a nice neutral color that I can certainly use on other projects and some polycrilic.  The shelf is from Target.  There's also a rug in the very background standing up from Home Depot.  It's a cheapie, but I liked the colors. 


Photo by TJoy71

     These are pieces I've already had.  The chairs are from an old dining room set.  It's covered in plastic because they were originally white and I had three very little ones at the time.  I've hung on to them because I've always liked them.  The bench was given to me years ago in exchange for a baby crib.  The wall is one of my favorite things, but I will have to move it down a bit as it will no longer be centered. 


     The plan is to re-arrange some already exisitiing pieces that aren't shown, to paint and tweak that bench, to re-upholster and add cushioning to the back of two of those dining room chairs.  I may not use all the pillows, but the colors are what I'll be working toward.  The table from Goodwill is going to get a paintjob as will the green box and the purple white board.  Not sure what I'm going to do with the wire basket, but I'm sure it can be used. 


     So, it's all coming together.  I did some pretty heavy cleaning around the house today and had hoped to get some sanding done so I could start a bit of painting tomorrow.  However, as usual, some weeds popped up! I had to post about it and put a picture up because you know I love to find the humor in everything. 

     C got his finger smooshed in a door today and I really thought that top joint had gotten broken.  They weren't so sure at the ER either because they did go ahead and get x-rays.  He'll definitely lose the nail, but it should heal just fine.  They did splint it though because it was pretty nasty! 


Photo by TJoy71

Sadly, he is well aware of the fact that it is not polite to put that particular finger in the air.  That said, he's seven, he's a boy, and it's going to be a loooooong week!!  Note my plaque on the wall.  "May the Lord bless and protect you and give you peace."  Lord, please give me peace while he's at school and let not thine principal have to call me!!

All photos by TJoy71 on Flickr.

Wednesday, October 26, 2011

Darn Pinterest!!

     You know what I love to do that my husband hates?  I love to go online and look at all the fresh new home decorating ideas!  The rooms are so clean and uncluttered.  No dirty socks or intermittent lego pieces laying around.  If there is a child or an animal in the background, it's well groomed and at least appears to be well behaved.  I want that!  I want an internet image house!  Yes, that's what I want.  When does Santa get to the mall this year anyway?

     I know the idea is to start with one room at a time, but honestly for an adhd'er like myself, they really all run into one giant room and that just becomes a home interior nightmare.  Besides, just as soon as I get an idea, that one gets lost and then comes another.  By the way, I got these really great boots yesterday at TJMaxx, but well, see what I mean!   ............back to the story! 

     So, what's the one room in your house you would most love to do a makeover?  Living room?  Laundry room?  Hmmm..... wonder if I would like laundry better if I liked the room??  Thought to ponder!  And where would you go for inpsiration?

      I thought I would share some blogs I've found with some beautiful REAL homes!  While I'm sure these women consciously picked up the toys before taking the pictures, they truly look like homes we could all live in and were not just snapped for a magazine photo.

http://theinspiredroom.net/  

http://www.beneathmyheart.net/

http://thenester.com/

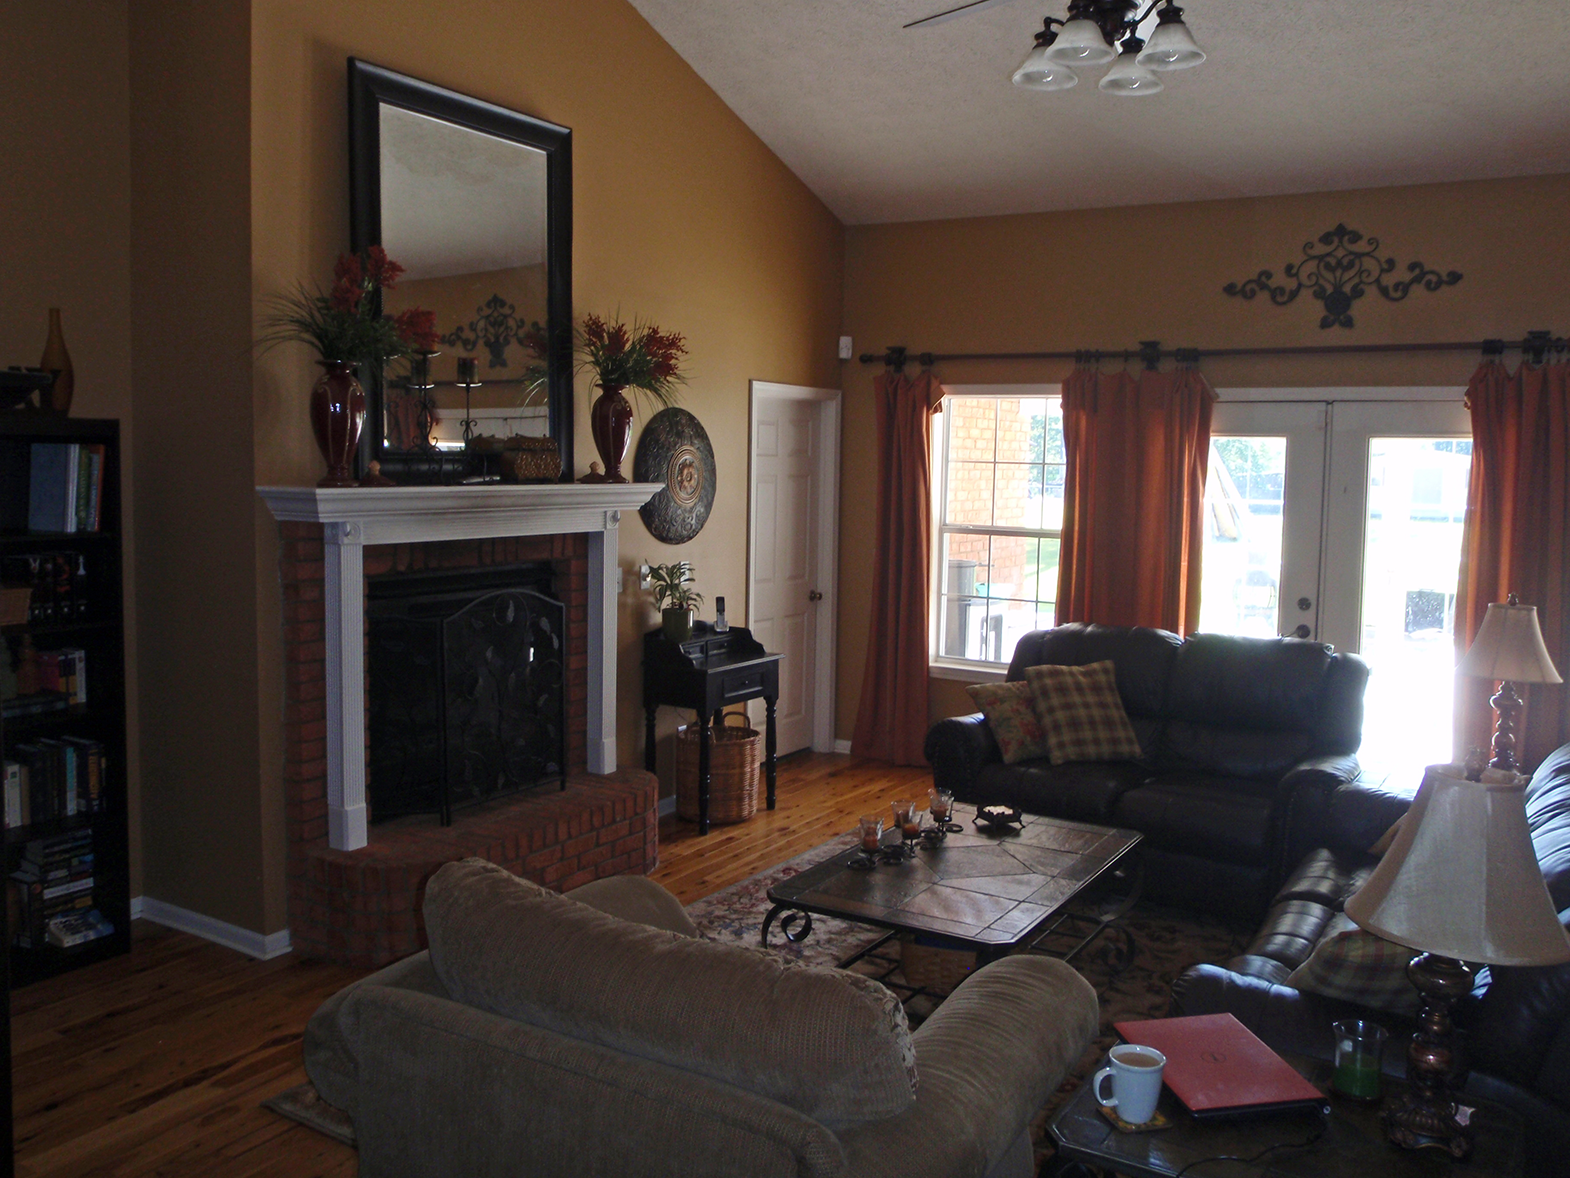
By the way, here's my living room.  You did notice the lack of socks and shoes laying around, right?  Go me!!

My House - Once Upon a Clean Day